Everyone knows I’m an old-fashioned kind of guy when it comes to getting the correct exposure “in-camera” as opposed to “in post”. For me, post-capture processing in Lightroom or Photoshop is a matter of tweaking the RAW image to help recreate what I remembered seeing when I took the shot. A graduated neutral density filter is used to balance the exposure between the background and foreground of an image. As such, it is an essential tool that every landscape photographer should learn to use early in their career (or hobby). Yes, I know you could accomplish the same thing using a photo-blending technique like HDR but it’s much easier to do this “in camera” while you’re out in the field.
The way a graduated ND filter works is very simple, by reducing the amount of light transmitted through a portion of the filter to your camera’s sensor so that the foreground exposure more closely matches the background exposure. They are not perfectly matched mind you, just more closely. By positioning the graduated ND filter in front of the lens you can vary the amount of exposure “balancing” the filter does in each scene. You can position these filter by hand or by using a filter holder as shown in the image below.
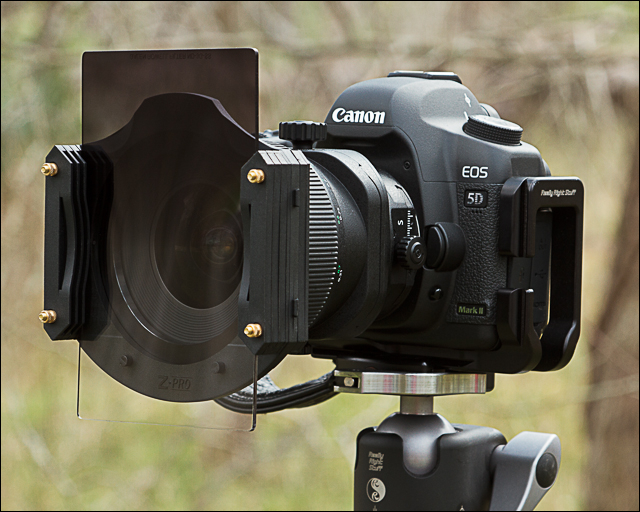
This is my typical setup for a landscape shot with my 5D Mark III on a lightweight but sturdy tripod (Gitzo Traveller using an RRS ball-head) and a Singh-Ray graduated neutral density filter held in place by a Cokin “Z” holder, mounted on a wide angle lens. The graduated neutral density filter is generally a 2, 3 or 4-stop / soft ND grad made by Singh-Ray, a company that designs and builds the best quality photographic filters in the world.
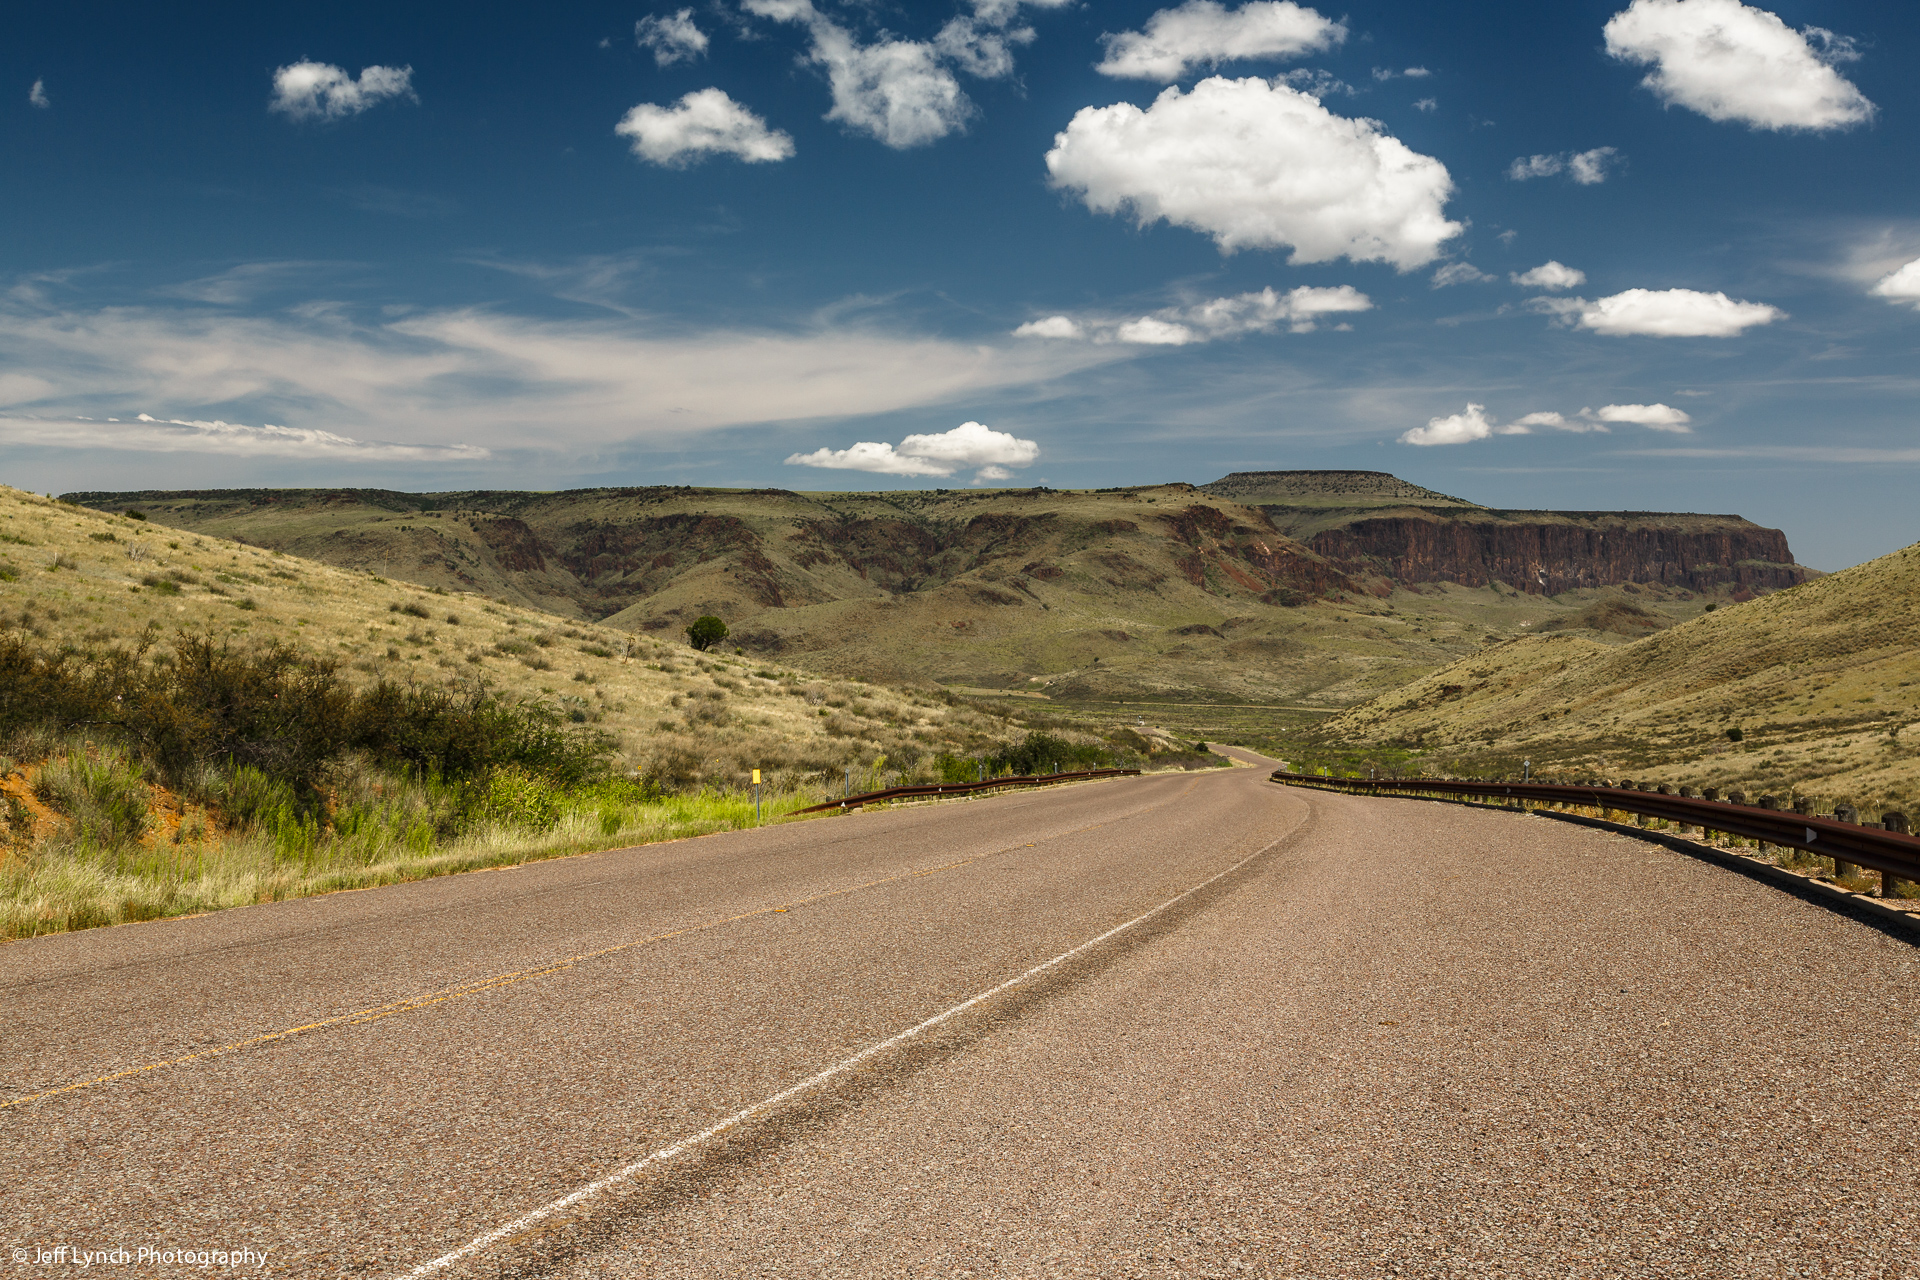
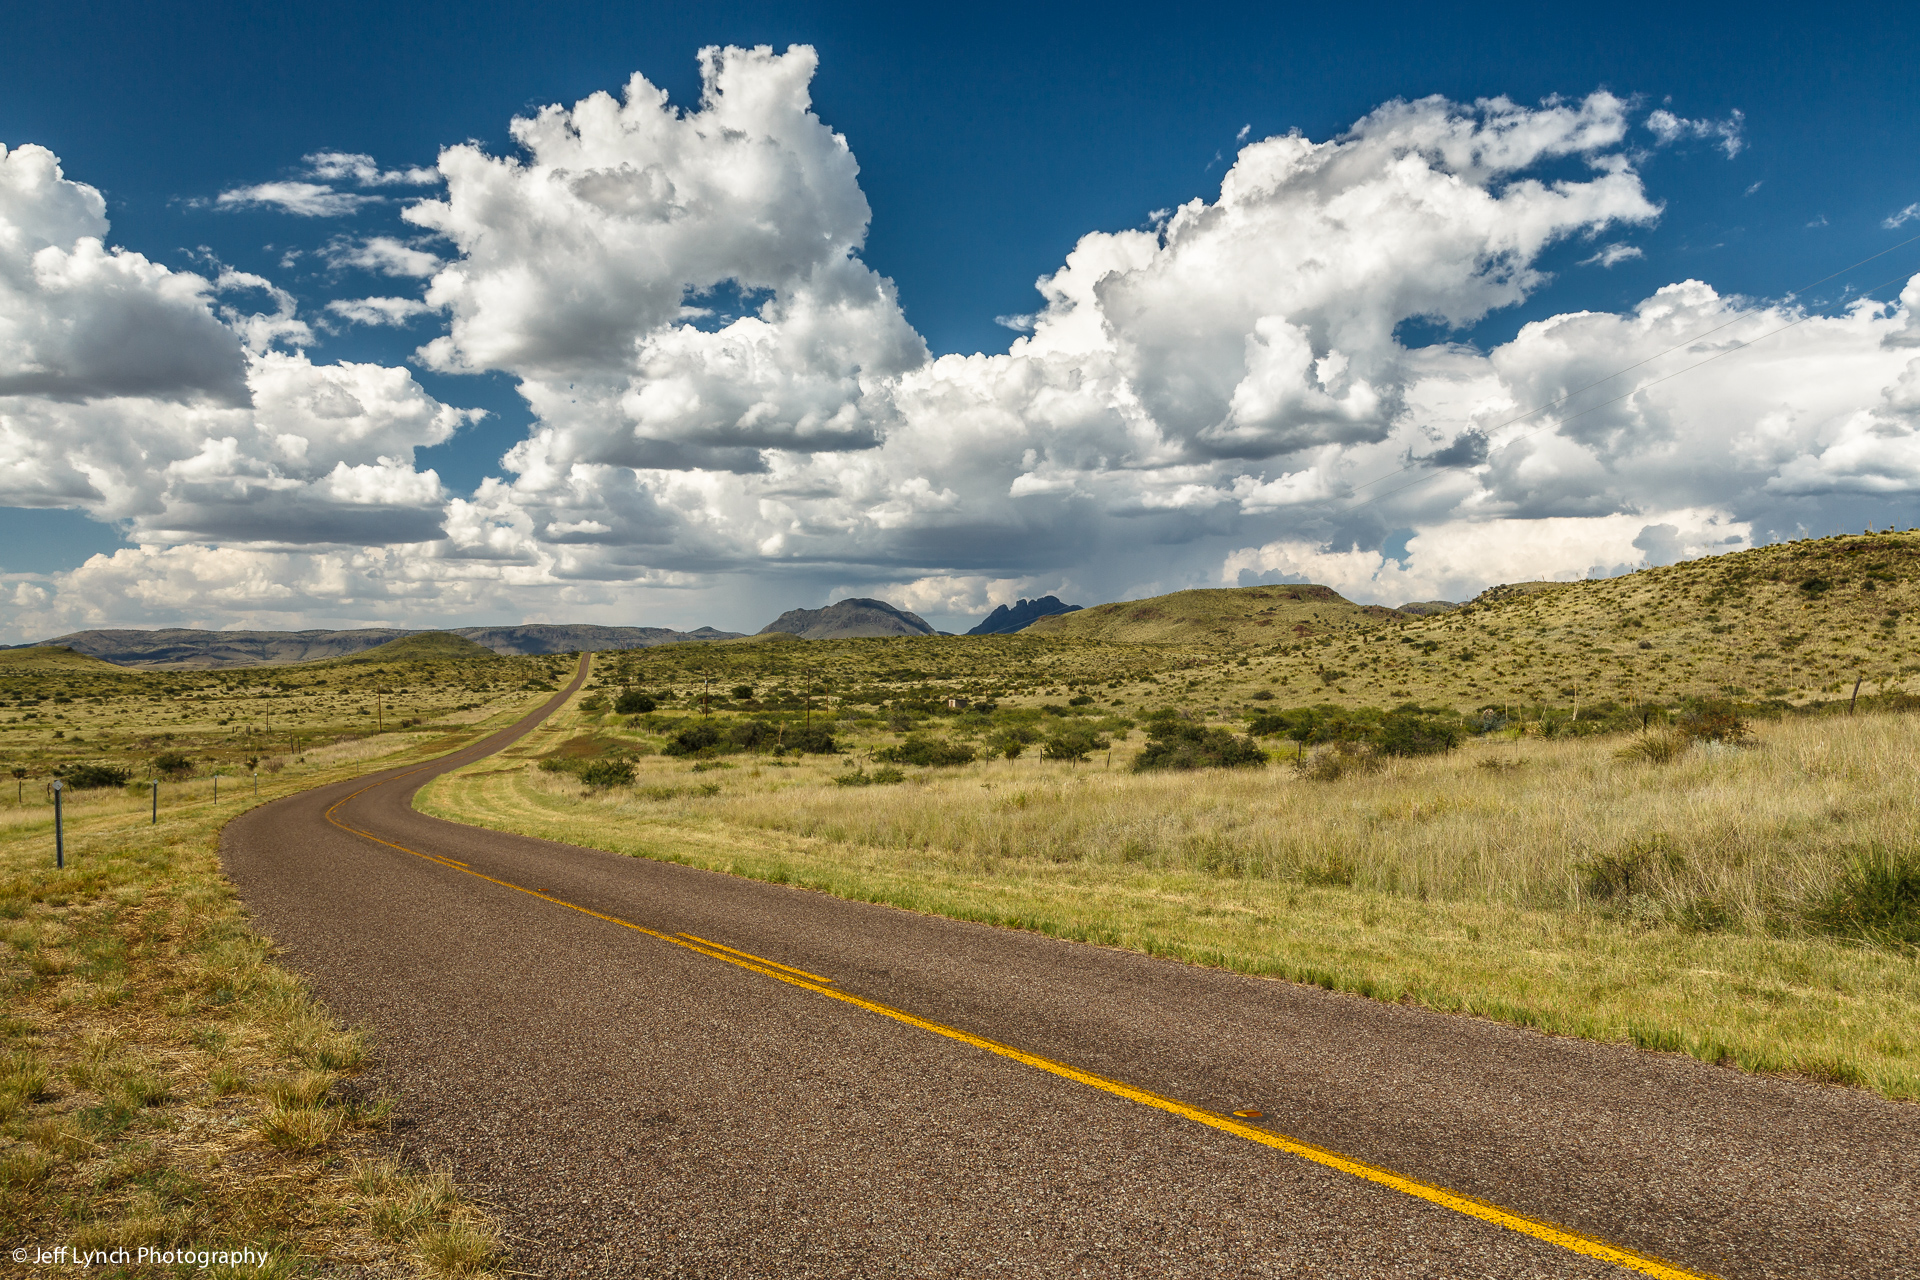
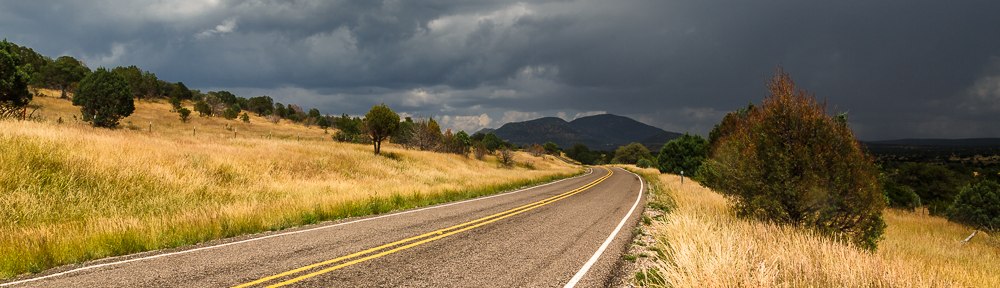
The purpose of the “ND Grad” filter used here was to “hold back” the bright sunset to balance foreground exposure in this late evening shot in Orchard, Texas. This allowed my DSLR to meter for the mid-tones without blowing out the bright highlights or losing all the shadow detail. The great thing about a graduated neutral density filter is that you, the photographer, have complete control over how much light the filter blocks by changing its position in the filter holder. Many photographers (myself included) prefer to hold the filter against the lens by hand, moving it to achieve exactly the effect we want.
On of my favorite landscape photographers Steve Kossack, is famous for teaching students “conscious control over colors and light” and a big part of his craft is in using the right filter at the right time. Steve’s also famous for hand-holding and moving his ND-Grad filters during the exposure so that each image is unique and one of a kind.
As Steve teaches, getting control of the colors and the light “in-camera” using a graduated neutral density is a great way to practice your craft in the field. Learning to properly use a few simple filters can extend your success and bring some much needed control to your landscape photography.