The Spring 2013 Texas Landscape Safari is less than a week away and I know the folks that plan to attend are anxious to get out with their cameras after a long and cold winter. So for the next few days I’ll be posting tips to help folks get the most out of their workshop experience.
The first rule of photography that I was taught thirty five years ago was to “shoot what you love”. There is no better piece of advice I can give to an enthusiastic amateur than that. When you truly “love” the subject that you’re photographing, that “feeling” is reflected in the images you capture. Monet painted many different scenes during his career but none stand out nearly as much as those of his beloved garden’s water lilies.
Folks attending photographic workshops are often searching to discover what subjects they connect with the best. For some it’s big game wildlife in Africa, while for others it’s the unique water fowl found in southern Florida. For many younger landscape enthusiasts it’s the majesty of Yosemite or Yellowstone while for others (like myself) it’s the simple, rugged beauty found in the rural areas of Texas.
The key to getting the most out of any workshop (or your own photography in general) is to discover what you love to shoot and make it your goal to learn how to shoot that subject as creatively as possible. Don’t worry about what others in the group are concentrating on. Take a good look around you at each stop and see what catches your eye. If it’s water, shoot the water. If it’s wildflowers, shoot the flowers. If it’s rocks and trees, then explore the rocks and trees with your camera. Approach each new location during the workshop with an open mind, a curious demeanor and a courageous attitude and I promise you’ll soon learn what you “love” to shoot just as I have.
And remember to enjoy yourself out there. We’re all here to learn and have some fun exploring the Texas panhandle together. Learn to shoot what you love and to love what you shoot and I promise you’ll walk away with some great images and some wonderful new friends. But don’t take my word for it; just ask Angel, Darrell or Ralph when you meet them in Canyon, Texas in a few days.

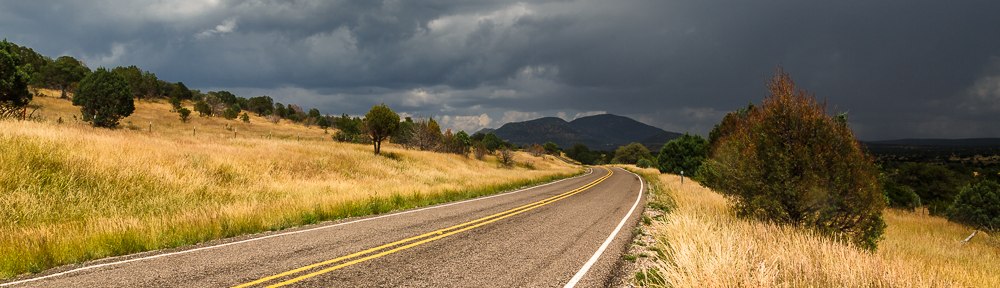
Caprock Canyon in Summer – Quitaque, Texas
Copyright © 2010 Jeff Lynch Photography
Shot taken with a Canon EOS 5D Mark II set on aperture (Av) priority using an EF 17-40mm f/4L USM lens tripod mounted. The exposure was taken at 40mm, f/16 for 1/40th of a second at ISO 100 using a Singh-Ray warming polarizer and two-stop, soft graduated neutral density filter. Post capture processing was done entirely in Adobe’s Lightroom 3.
Click on the image above for a larger version.
![]()

