There are a few essential pieces of equipment that every landscape photographer should carry besides their camera, lens and tripod. Without these accessories you limit what scenes your camera can capture correctly but with these accessories, the only limit to how far you can take your landscape photography is your creativity and imagination.
The first is a high-quality circular polarizer (CP) filter. Almost every situation a landscape and nature photographer will face requires a circular polarizer which is why this one filter sees more action in the field than all the other filters combined. A circular polarizer filter acts just like your polarized sunglasses, it helps reduce glare, improves contrast and saturates otherwise washed out colors in your images.
Investing in a high-quality CP filter early on in your career (or hobby) is always a good idea and will save you considerable time, money and frustration down the road. A good CP filter will run between $100 – $300 (USD) depending upon the size you need and the thickness of the filter you desire. I recommend a thin-mount CP filter to help prevent vignetting when shoot with an ultra-wide angle lens.
I generally use Singh-Ray filters these days but both B&W (Schneider Optics) and Heliopan also make fine CP filters.

The second is a set of two and three-stop, graduated neutral density filters and a system to hold them in place. A graduated neutral density filter is used to balance the exposure between the background and foreground of an image. As such, it is an essential tool that every landscape photographer should learn to use early in their career (or hobby). Yes, I know you could accomplish the same thing using a photo-blending technique like HDR but it’s much easier to do this “in camera” while you’re out in the field.
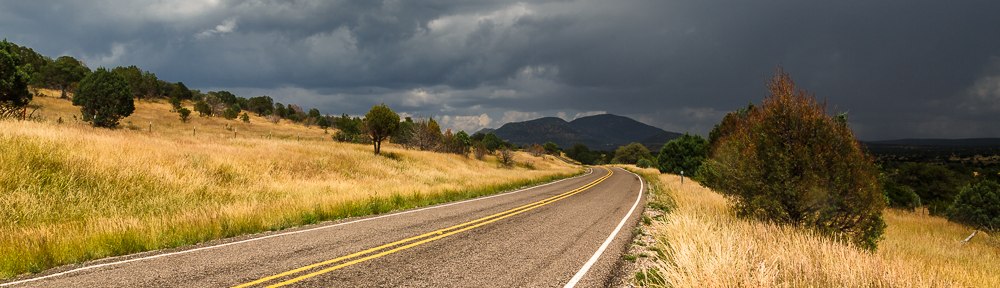
The way a graduated ND filter works is very simple, by reducing the amount of light transmitted through a portion of the filter to your camera’s sensor so that the foreground exposure more closely matches the background exposure. They are not perfectly matched mind you, just more closely. By positioning the graduated ND filter in front of the lens you can vary the amount of exposure “balancing” the filter does in each scene. You can position these filter by hand or by using a filter holder as shown in the image above.
I generally use Singh-Ray’s 2-stop, or 3-stop, soft, graduated neutral density filters but both Lee and Cokin make excellent “ND Grad” filters as well. These filters come in various rectangular sizes to fit the various “standard” holders (“P” series or “Z” series) for both still and motion picture photography and are generally used along with a CP filter. Graduated neutral density filters are not cheap however and may run from $150 – $350 each.
Yes, this is a lot of extra money to spend just to obtain a properly exposed image from our DSLR camera. Yes, you could spend hours in Adobe Photoshop or Lightroom achieving the same effect (or close to the same effect) during your “post capture” processing. However, I like to think that photography is about learning to capture these incredible images “in camera” and to use as little “post capture” magic as possible after the fact. This is how I was taught 35 years ago and it’s how I teach my workshops. It’s about spending more time out in nature behind your camera and a lot less time sitting in front of a computer screen (which we ALL spend too much time in front of anyway).
It’s also how I captured this shot of Lighthouse Peak’s “Iron Sights” at Palo Duro Canyon State Park last fall.

Iron Sights – Palo Duro Canyon State Park, Texas
Copyright © 2010 Jeff Lynch Photography
Shot taken with a Canon EOS 5D Mark II set on aperture (Av) priority using an EF 17-40mm f/4L USM lens tripod mounted. The exposure was taken at 19mm, f/16 for 1/15th of a second at ISO 100 using a Singh-Ray warming polarizer and two-stop, soft graduated neutral density filter. Post capture processing was done entirely in Adobe’s Lightroom 3.
Click on the image above for a larger version.


